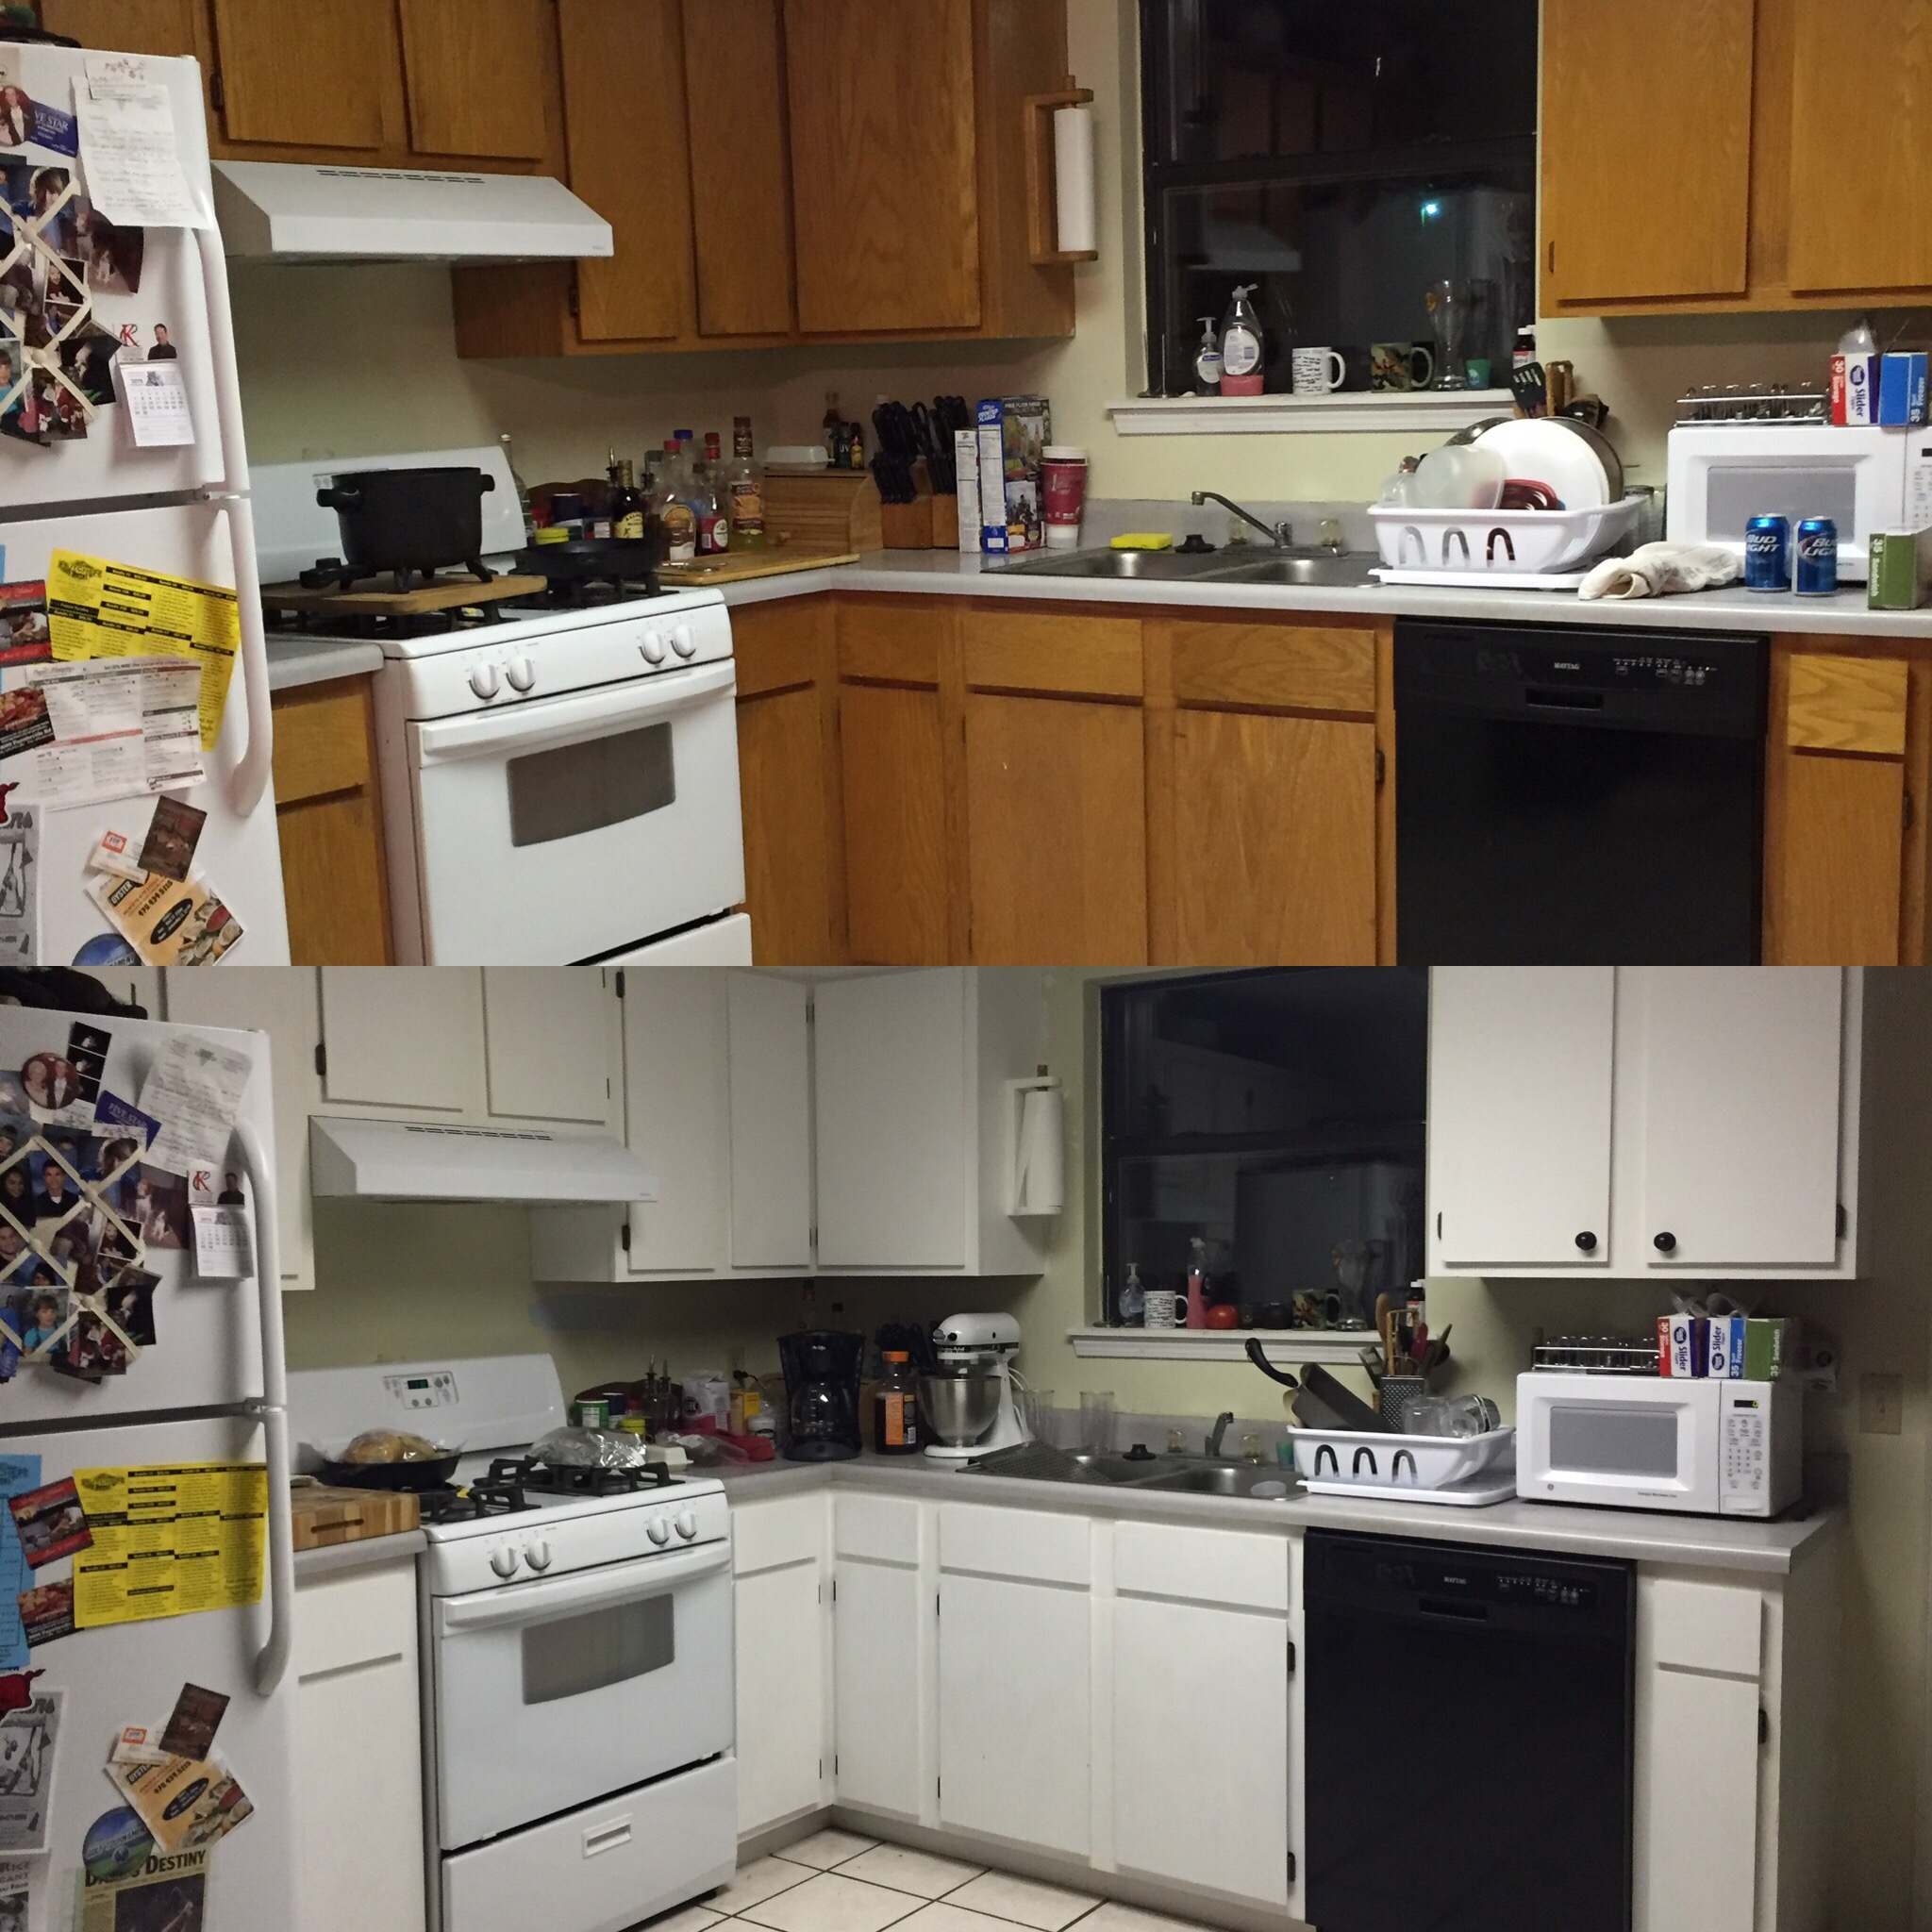
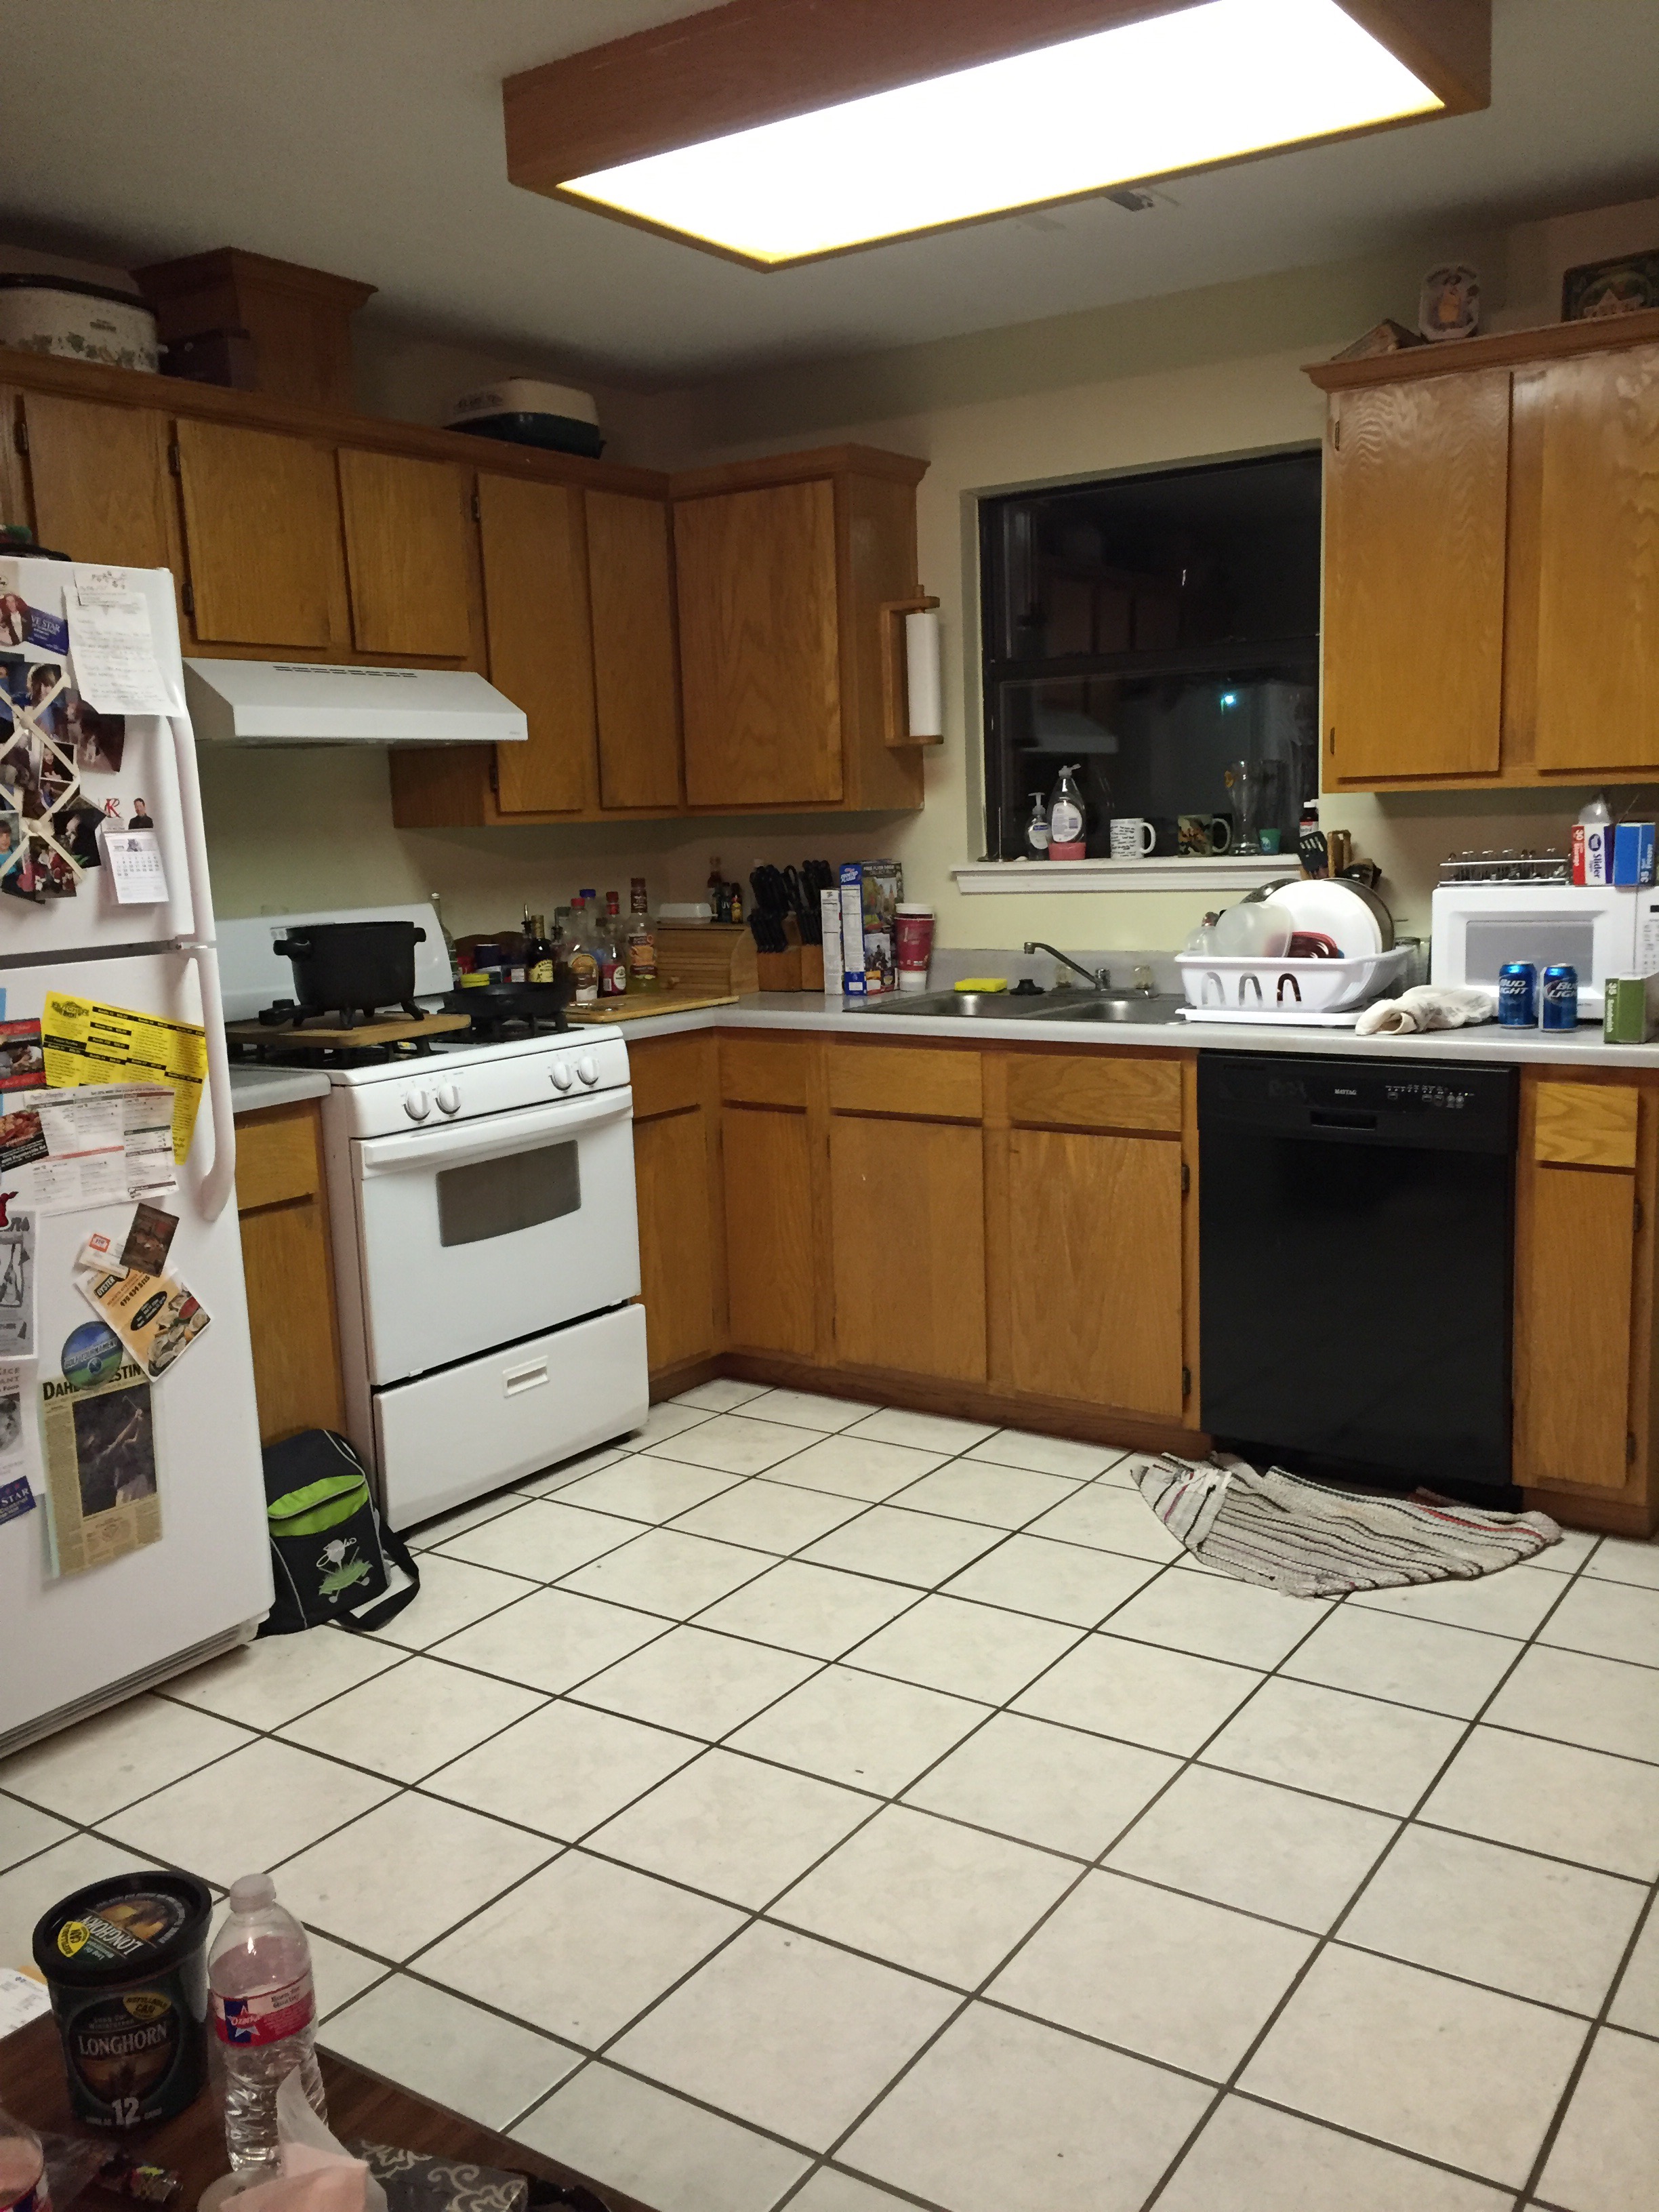
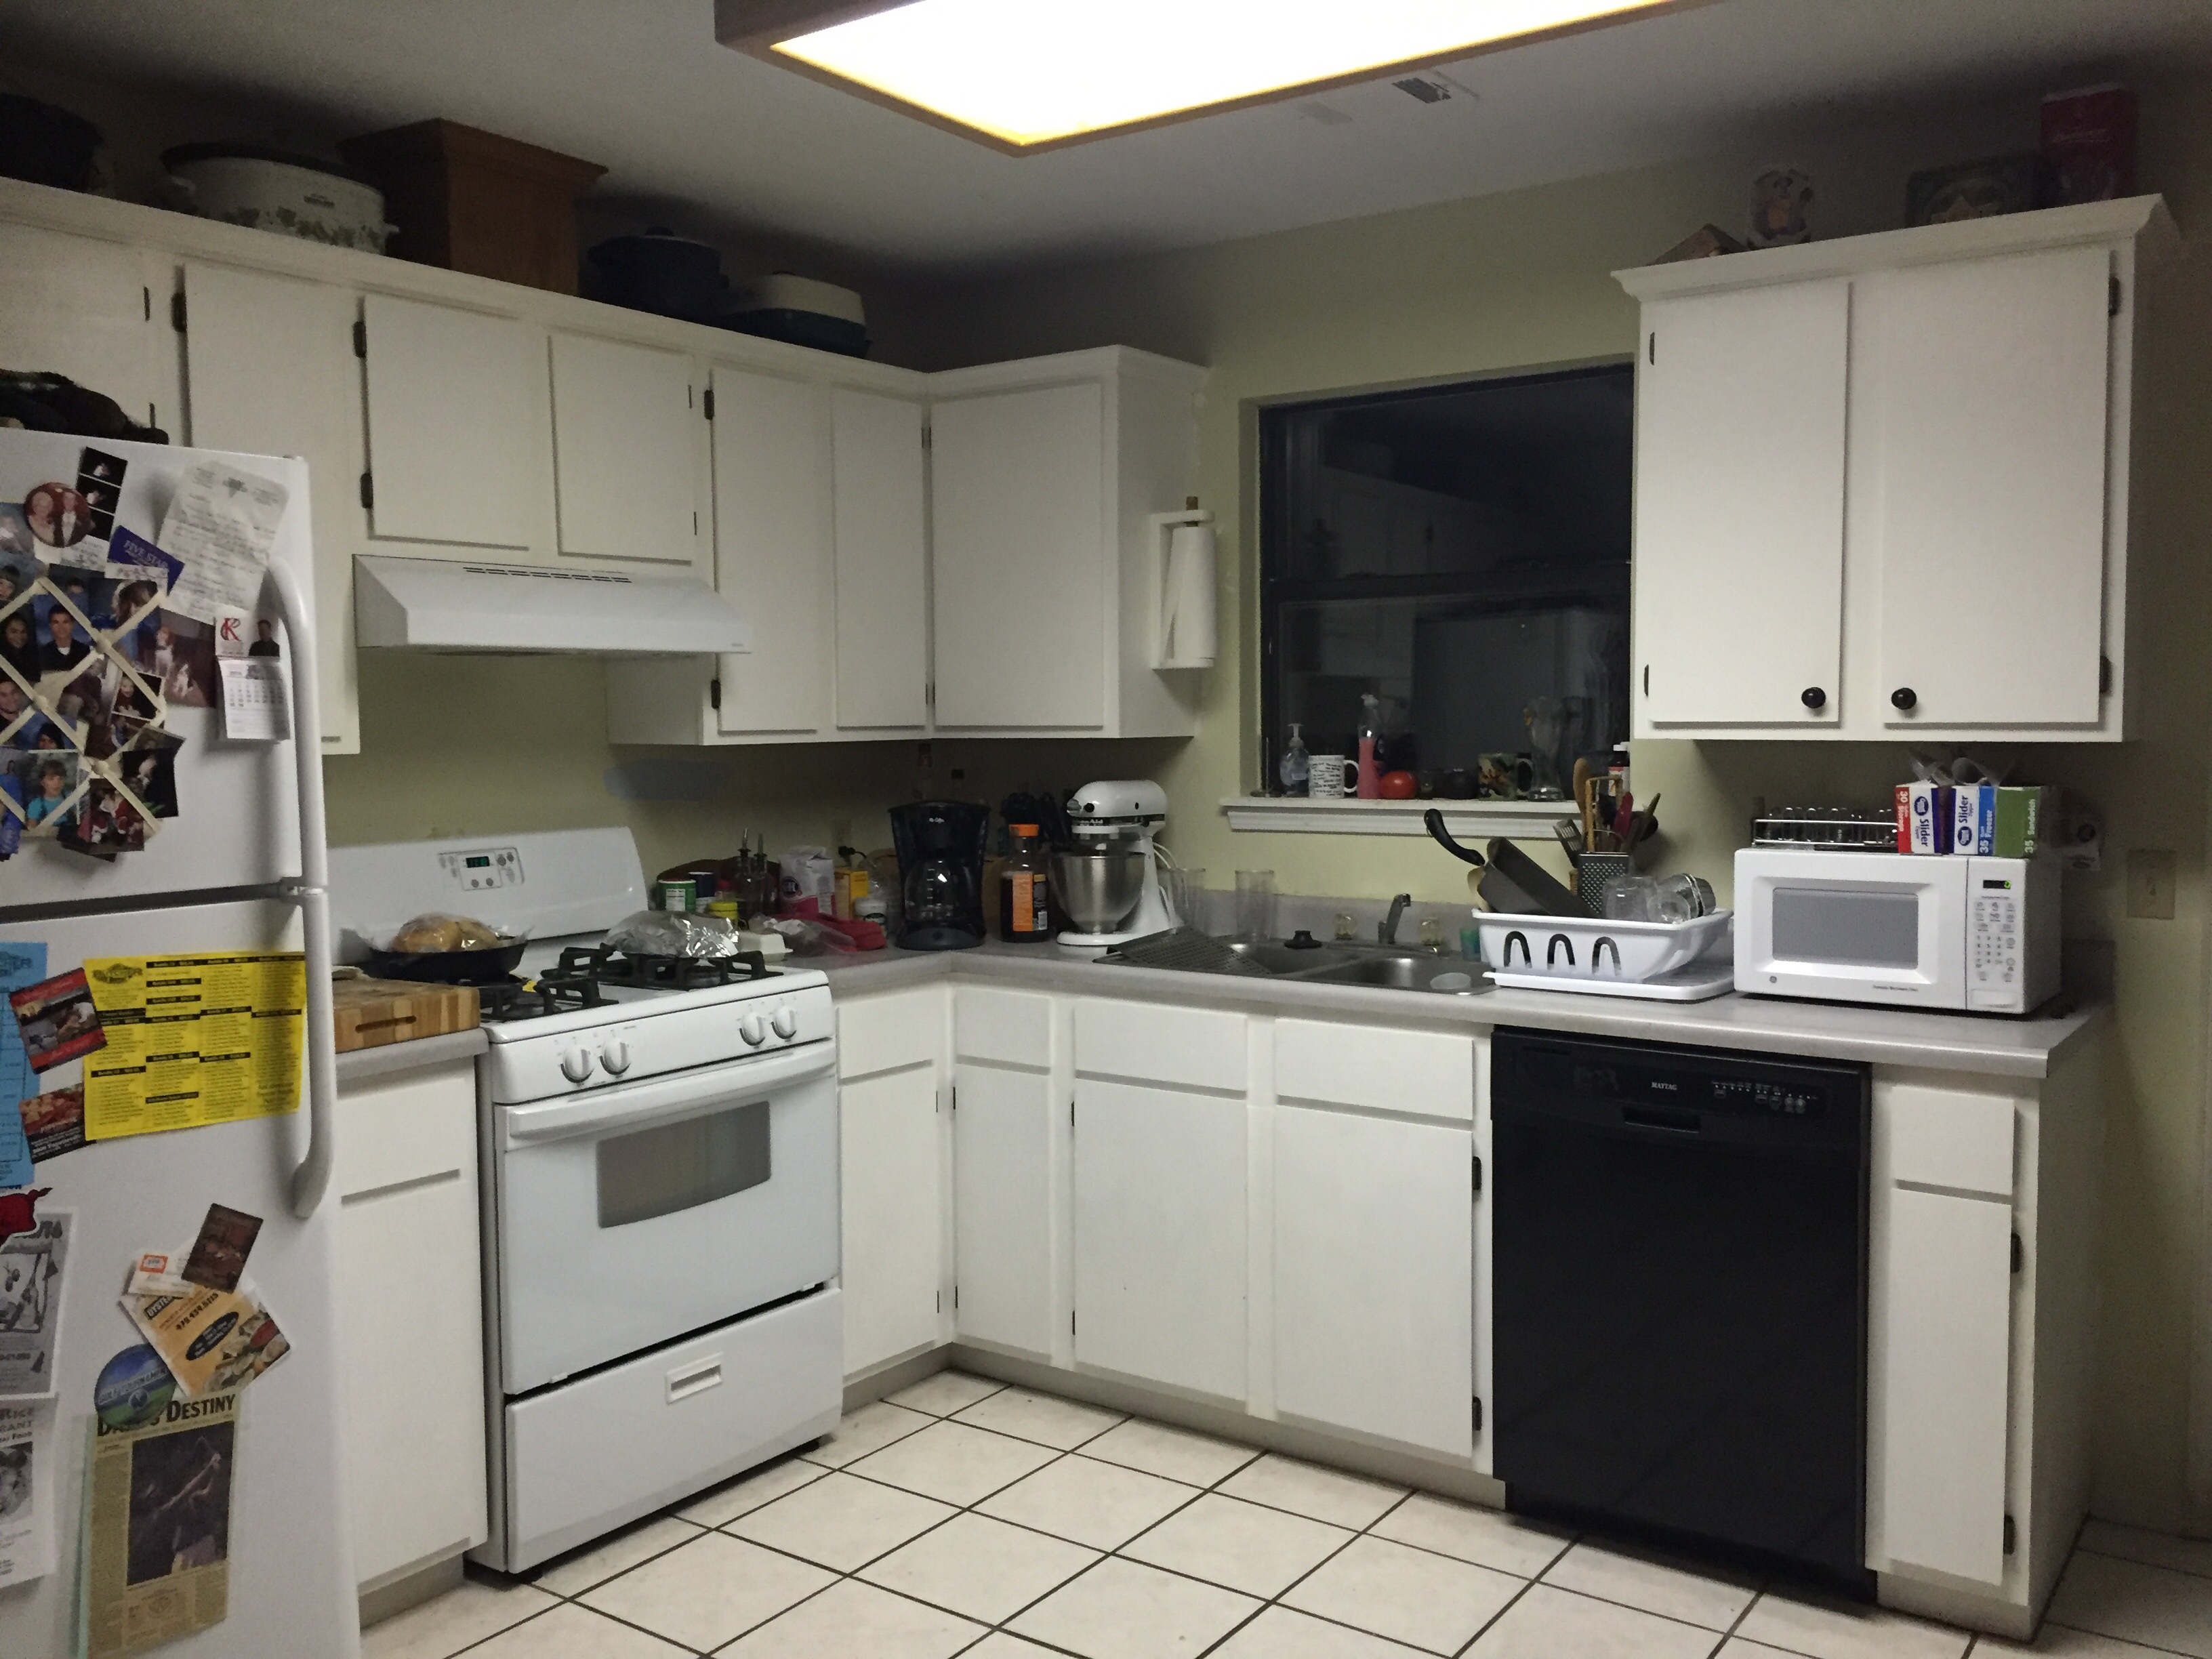
Hello friends!!! I was on Facebook yesterday and realized via TimeHop that it has been a year this week since we started painting our kitchen cabinets. What a perfect time to let you guys in on exactly how we did it and give some of my favorite before and afters. When we started this process they looked like this…
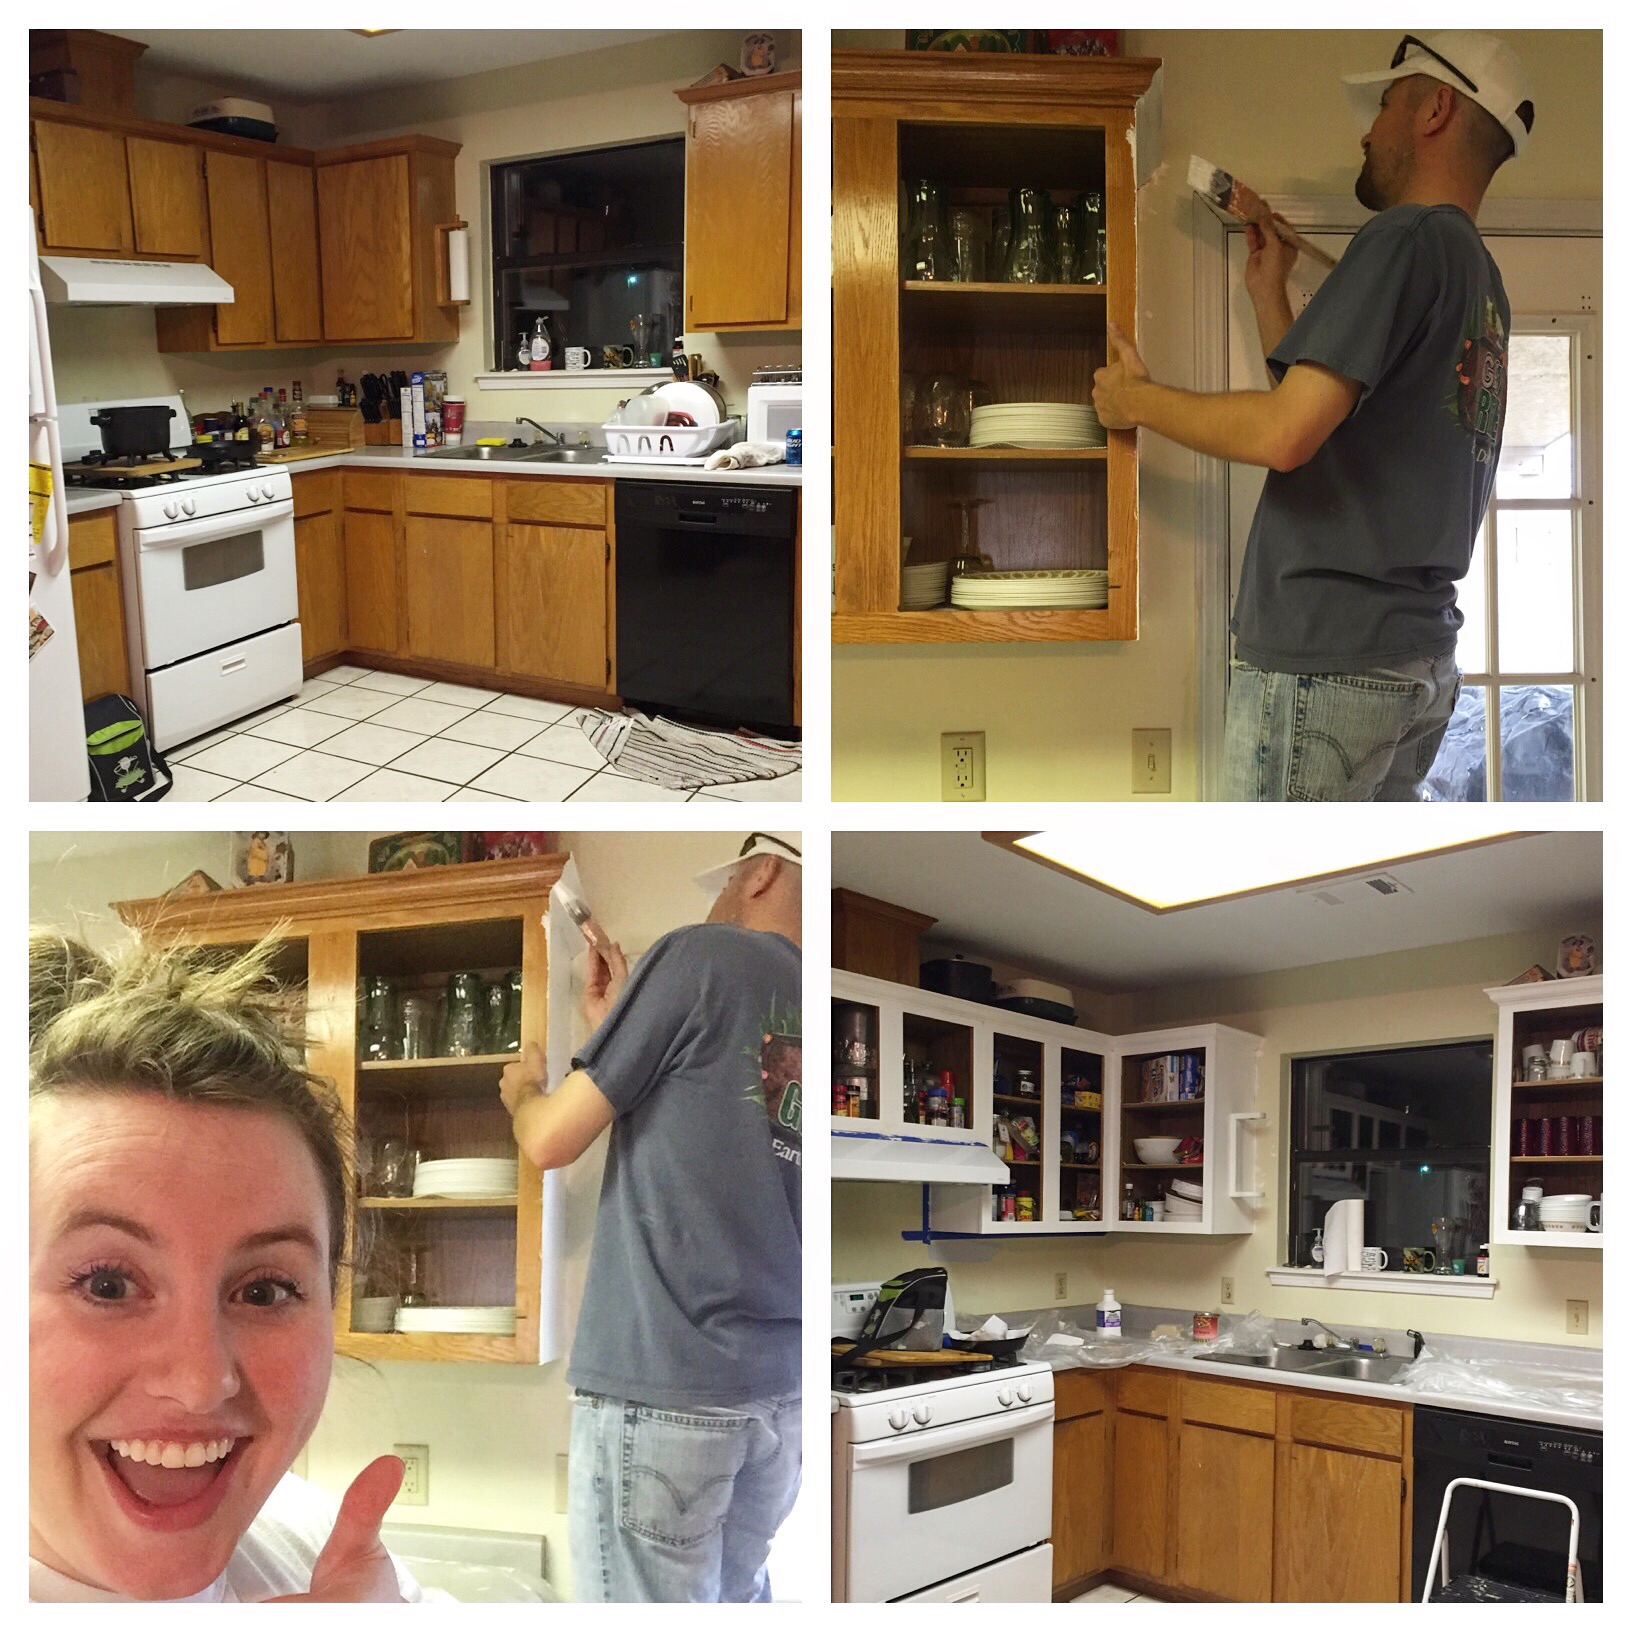
While the cabinets were not the worst, I hated them, so I started doing research on the best way to paint cabinets and convince Andrew that this was a MUST on our to do list for the house. It wasn’t an option for us to spend the money on getting new cabinets so painting them was a cost effective way to get the look I wanted. Let me start by saying that we did this project while we were in premarital counseling. Make sure your communication is on a high point when you start a tedious project like this. Also notice how excited I looked at the beginning haha! I also thought that we could paint them all in one day. That was funny. After researching different methods, I settled on a milk paint by General Finishes in a color called Snow White. We chose milk paint because it didn’t require sanding and priming, so we thought it would save a lot of time. In the end, I would say it is pretty much a wash on time. The milk paint called for a coat of deglosser which we bought at Lowe’s for about $7. A little bit goes a LONG way. This basically took off the finish that was on the cabinets and prepped them so the paint would stick better to them. It will be sticky, just warning you. When you take off the doors of your cabinets make sure you label them by number of where they came from. Even if they look the same size they might not be and when you are hanging them back up they might not match without labeling. We also put all the screws and hinges in bags labeled for each door. Next we started the painting process. It took 2 to 3 coats of the milk paint and then 2 coats of the General Finishes High Performance Top Coat in Flat. This sealed the paint and as Andrew says, this process gave it a different look then just painting it. To save money we also decided to paint the henges and screws to make them match the knobs we picked out. I cleaned them really well then set them on news paper and sprayed them down with spray paint by Rust-Oleum in a brown hammered color. It was less than $6 and looked GREAT!!
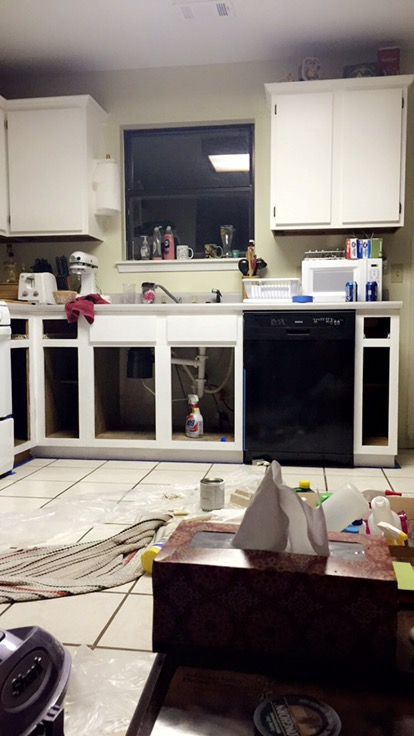
This was during the project. At this point we had worked on them in our spare time about 2 weeks. We didn’t have a lot of spare time in between planning a big wedding and all that entails on weekends.
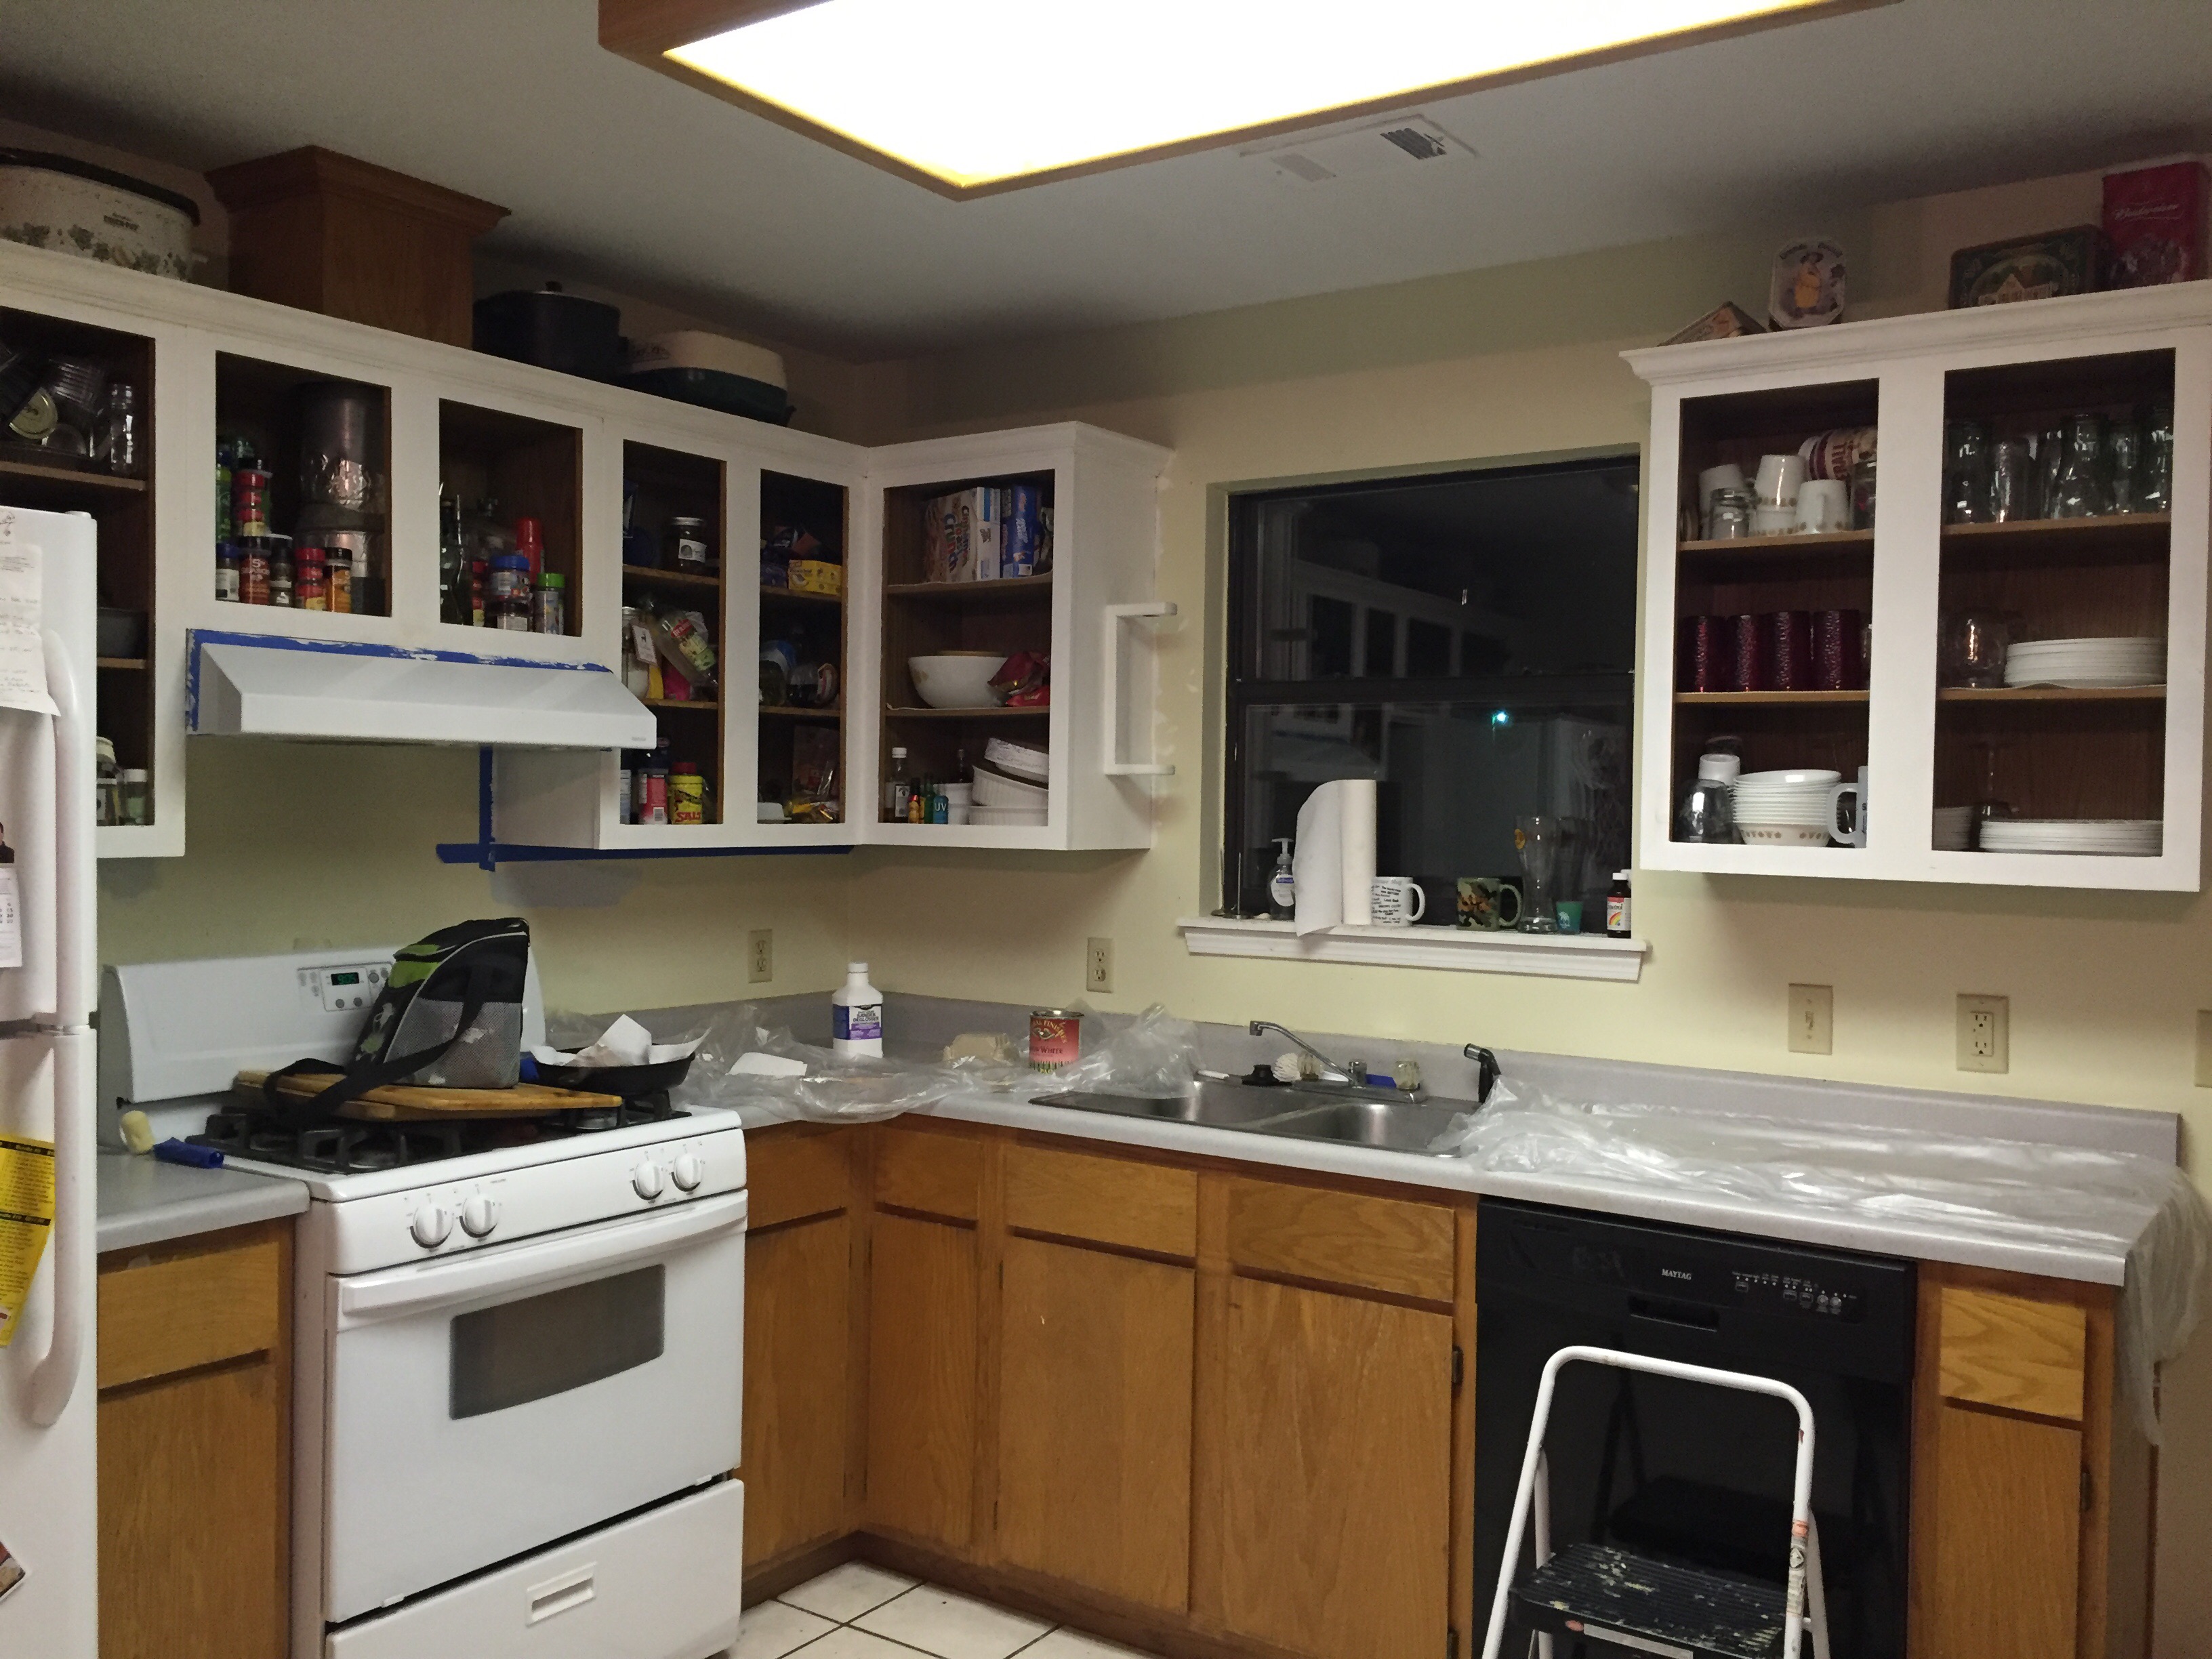
It ended up taking us about 1 month to finish completely. Overall, I loved how it came out. The white really made the small kitchen look bigger and made the room feel so much brighter. We next added some hardware we bought from Lowe’s for $4 a piece. We also bought an island to put in the middle of the kitchen because we desperately needed more counter space and storage. I wanted one that had two drawers and opened on both sides. I also wanted one that had a solid wood countertop. After a ton of research and waiting on the right price, I bought an island from Bed, Bath and Beyond for around $600 on sale and changed the cheap knobs on it with the same ones we did for our cabinets so it looked more cohesive. One thing I took away from this whole process was that painting cabinets is hard work and I way underestimate how much time a project like this will actually take. I would not trade the outcome though! Here is what it looked like when we were finished. What a before and after!

A year later the cabinets still look great but have yellowed a little bit. Not a bad yellow but they look more antiqued than they first did. Even so, I’m so glad we chose what we did! Here’s to more home projects to come!